


Bite Mark Evidence: Techniques, Challenges, and Case Insights
Introduction
However, this evidence is scientifically controversial. While it may help exclude suspects, confirming identity solely from bite marks is rarely definitive. As such, the American Board of Forensic Odontology (ABFO) and others continue working to standardize techniques and improve scientific reliability.
Collection and Documentation Process
1. Photographic Evidence
The first step involves capturing high-resolution images:
- From multiple angles
- With and without measurement scales
- Aligned parallel to the injury and ruler to reduce distortion
- Context shots showing location on the body
These images are the foundation for further analysis.
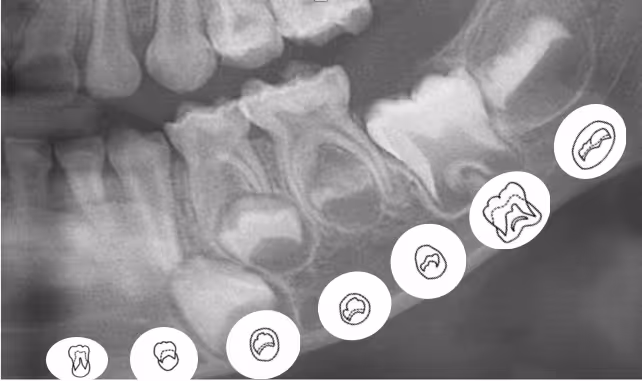
2. Dental Impressions of the Suspect
After suspect identification, upper and lower dental impressions are made using Vinyl PolySiloxane (VPS). These produce working casts with Type II dental stone.
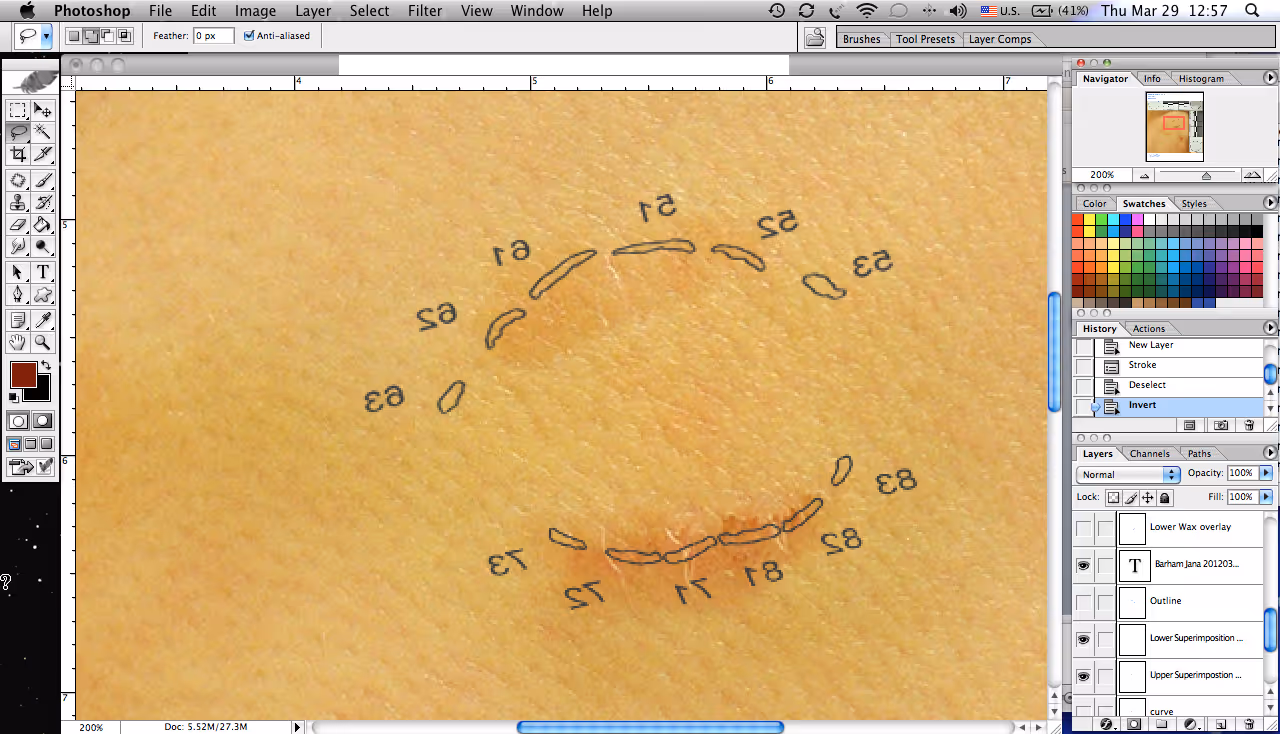
3. Creating and Comparing Overlays (2D Method)
Experts use Photoshop to create visual overlays of the suspect’s teeth:
- Scan the suspect’s dental cast.
- Scale the image to life-size (1:1).
- Use the Magic Wand Tool (tolerance 18) to select incisal edges.
- Outline the teeth on a new layer (2-pixel stroke).
- Label each tooth.
- Overlay the traced image onto the bite photo for visual comparison.
This provides alignment to assess pattern similarities.
Key Consideration: Exclusion vs Confirmation
Despite dental uniqueness, bite mark evidence is stronger for exclusion than confirmation:
- It can reliably rule out suspects.
- It cannot confirm identity with certainty.
- Conclusions must meet "reasonable medical certainty," not absolute proof.
This limitation must be clearly explained in court.
Notable Case Example
Toward Digital 3D Analysis
Modern tools like DentalPrint enable 3D model analysis with:
- Rotatable, multi-angle views
- Zoom and digital overlays
- Accurate documentation and storage
These advances bring greater objectivity and consistency to comparisons.